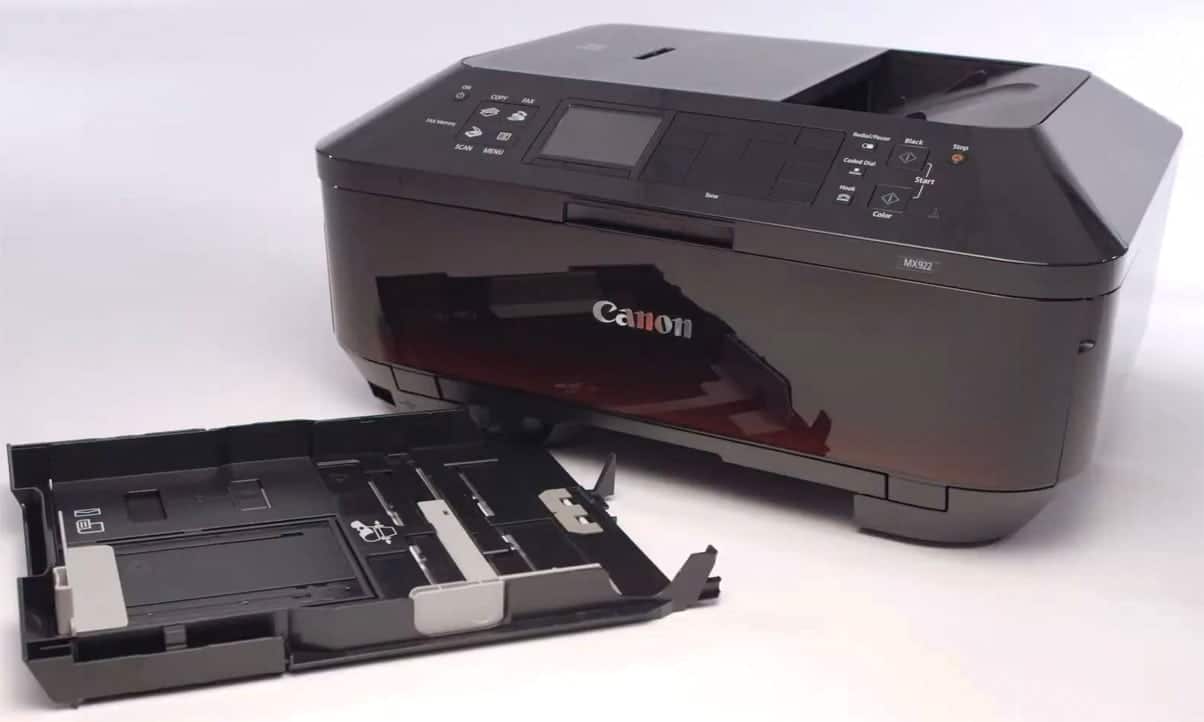
Incorrectly loading paper into your Pixma mx922 printer will lead to paper jams. Therefore, knowing how to load paper in Canon Pixma MX922 correctly is crucial.
In this article, I’ll show you the step-by-step process of correctly loading paper into a canon Pixma mx922 multifunction printer.
Quickly load paper into Canon Pixma MX922 Printer
- To load Large size Paper Into Canon Pixma mx922 > Take out the Lower Cassette Tray > Line up the stack of paper and place it on the tray > Adjust paper guides > Reinsert the tray into the printer.
- Load small (photo) paper > Take out the upper cassette tray > Place the stack of papers on the tray but make sure the side on which you want to print is facedown > Adjust the paper guides > Reinsert the tray.
The Canon Pixma mx922 printer supports a variety of papers. It has two paper trays that accept a variety of documents, including letters, legal paper, photo paper, and envelopes.
Paper Trays
The MX922 printer has two paper trays:
-
Lower Cassette: This paper tray holds larger paper such as A4, A5, B5, Letter, Legal, European DL, US Envelope size 10, and up to 8 x 10 (20 x 25 cm). If you want to print on that paper, use the lower paper tray.
-
Upper Cassette: This paper tray holds smaller papers such as 4 x 6 (10 x 15 cm) photo paper and 5 x 7 (13 x 18 cm).
How To Load Paper In Canon Pixma mx922
Here are the steps for adding large-size paper to the MX922.
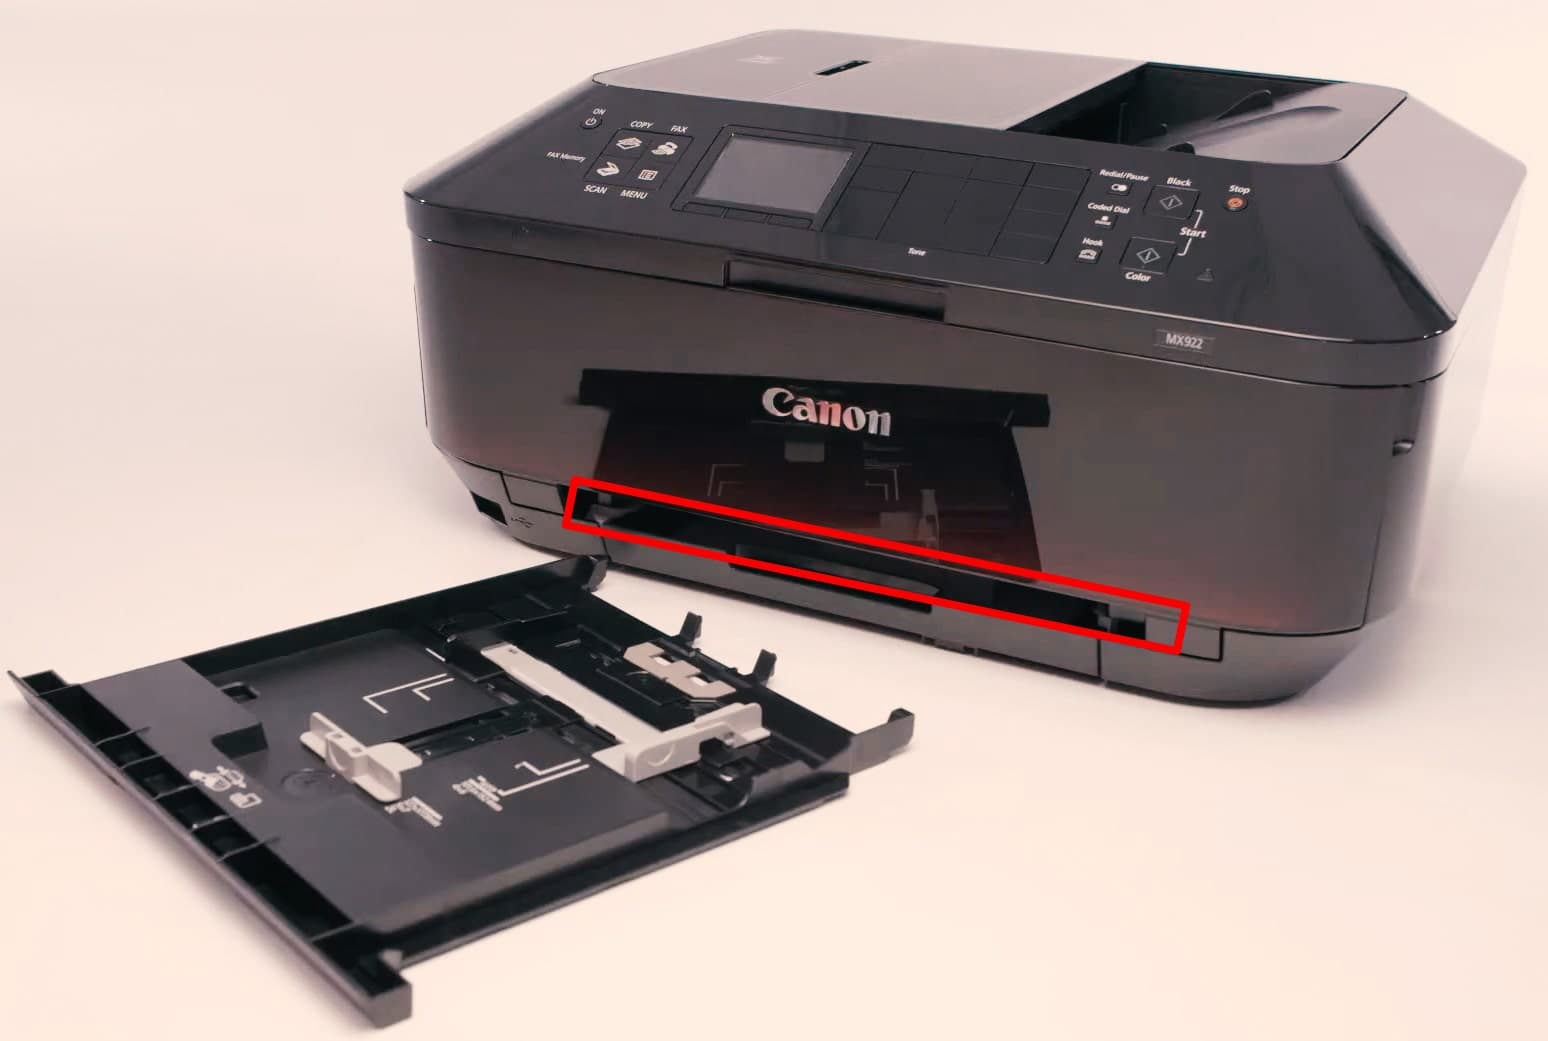
- Remove the lower cassette by pulling off the paper tray outside the printer.
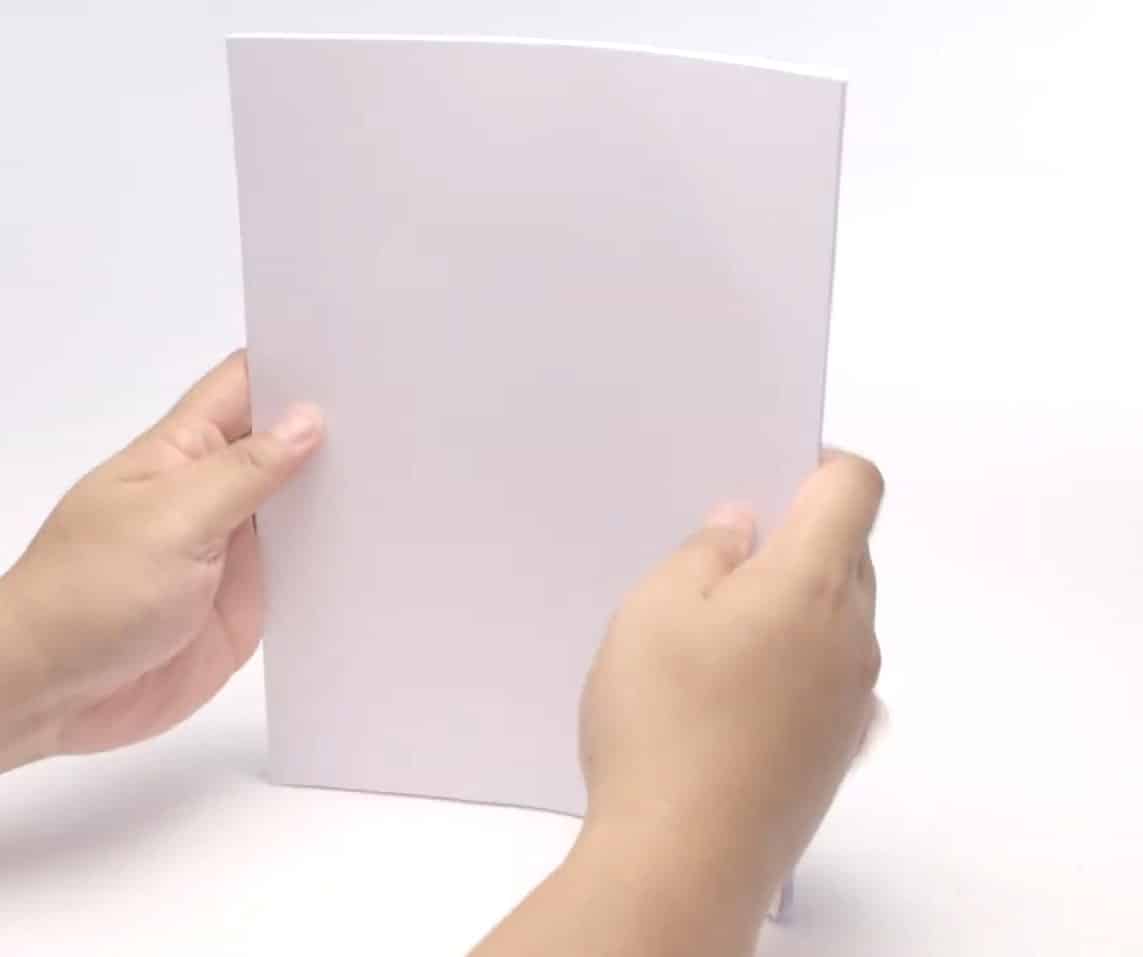
- Grasp your paper and align the edges.
Note: If your paper is curled, hold it from its horizontal edges on both sides using both hands. Tap it on a table or flat surface to make it balanced and aligned. Not aligning papers before loading could cause paper jams.
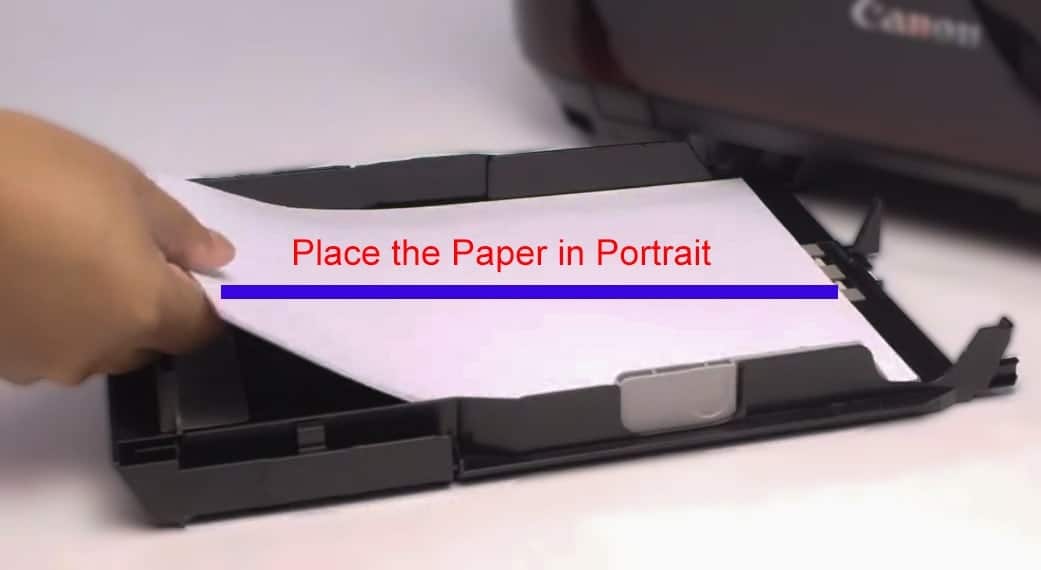
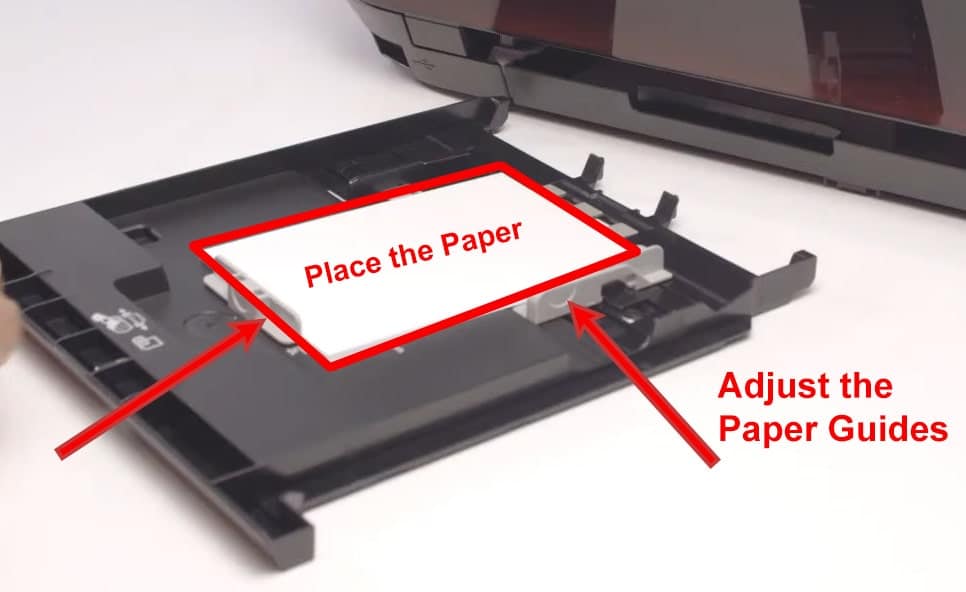
- Once you align it, place the stack of paper into the tray in portrait orientation. Loading paper in landscape orientation will cause a paper jam.
Note: Do not load more paper than the input tray can hold.
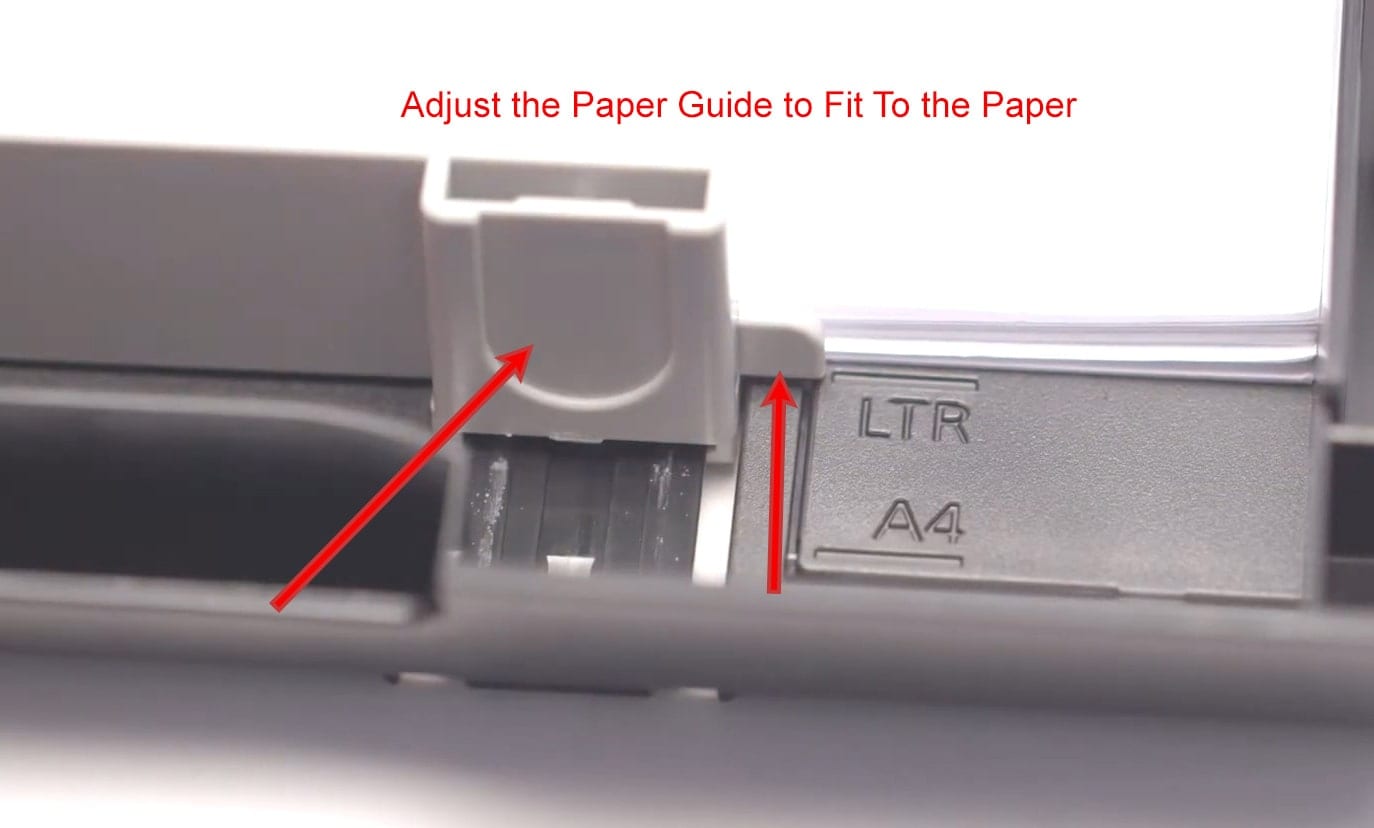
- Adjust the paper guides to move your stack into the correct position.
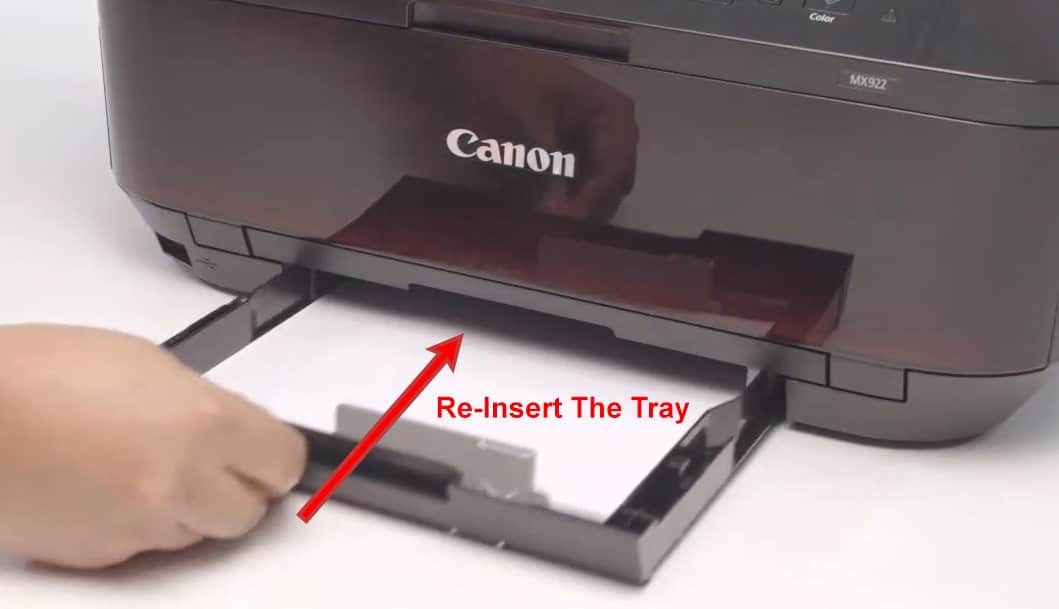
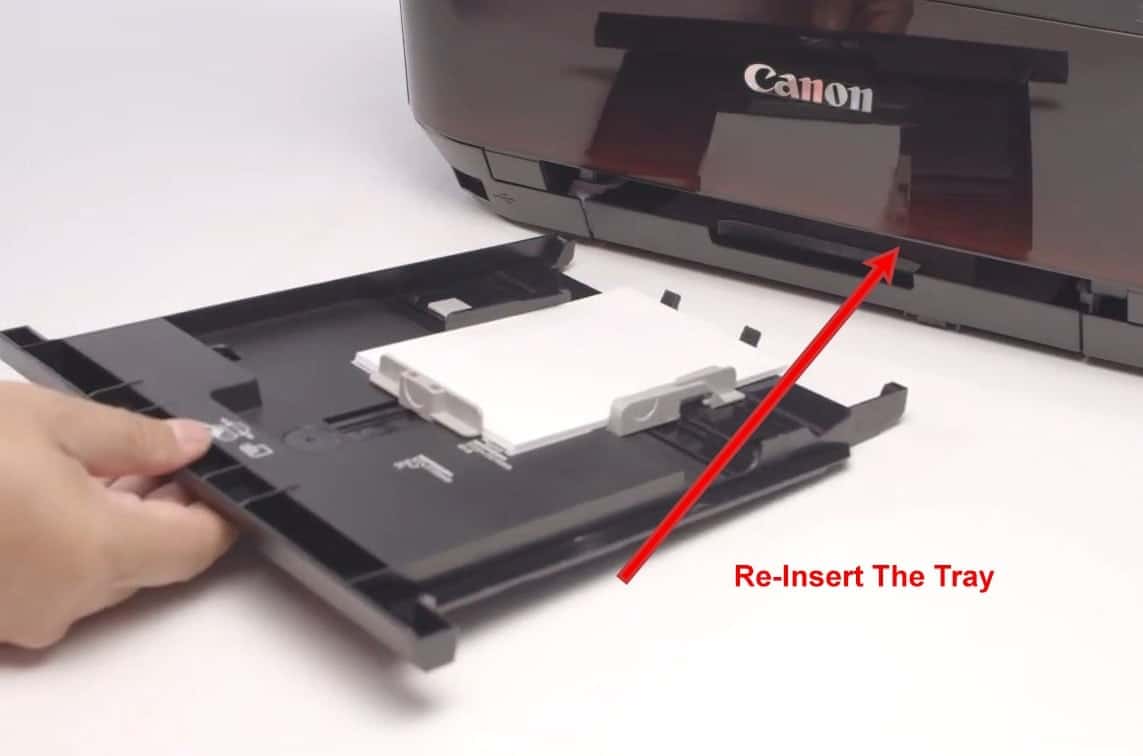
- Now, re-insert the paper tray into the printer. Your printer is now ready to print.
How to Load Smaller Size Paper in Canon Pixma mx922
You can load smaller size paper, such as photo paper or 5 x 7-inch paper, into a Canon Pixma mx922 printer by following the steps below:
- Firstly, take out the upper cassette tray entirely from the printer.
- Now, if you want to load photo paper, the glossy side, or the side you want to print on, should be inserted facedown. Place the stack of paper in the paper guide’s position and adjust it as needed.
- Next, re-insert the paper tray into the printer.
You can now enter the output tray to begin printing.
Wrapping Up!
That’s all you need to know about how to load paper in a Canon Pixma mx922. This printer has two input trays, making it easy to insert different types of print media.
So if you want to print larger or smaller paper, you can pull out the tray, place the stack of paper, and re-insert it to start printing your documents.
Let me know how you inserted the paper into the mx922 multifunction printer after following this tutorial.

